
7 Smart Steps to Take If Your Roof Fails a Home Roof Inspection
14, Jul 2025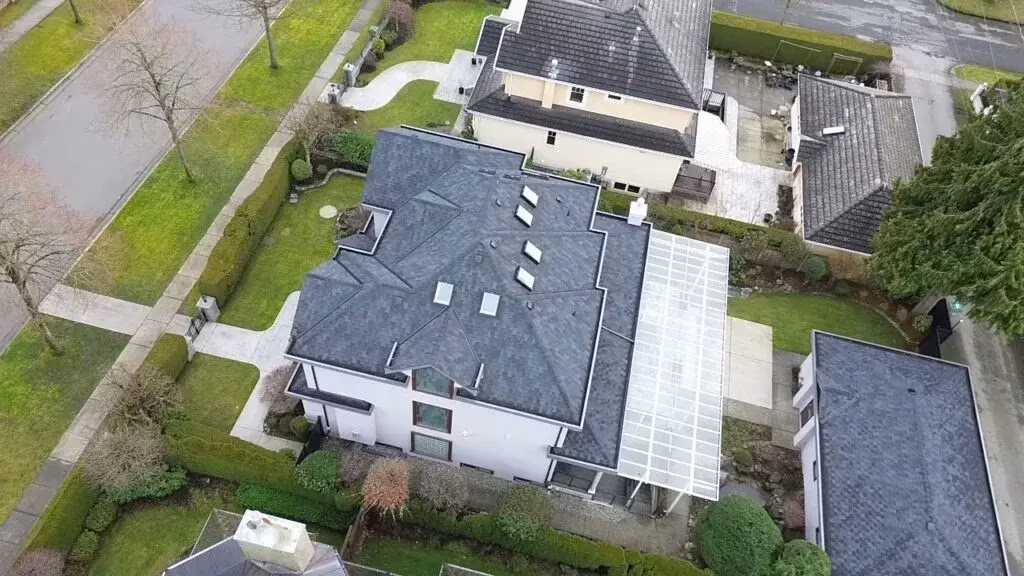
A roof inspection is one of the most important parts of maintaining and protecting your home. Whether you're planning to sell, have just bought a house, or want peace of mind, a solid roof is critical. But what happens if your roof doesn’t pass the inspection?
Don't panic. Failing a roof inspection is not the end of the world—it’s actually a smart chance to fix issues before they become bigger problems. Here’s exactly what to do next.
Why Roof Inspections Matter More Than You Think
A roof inspection checks for leaks, damage, wear, and structural weaknesses. It helps you spot small issues before they lead to costly repairs. Today, many inspectors use drone roof inspection technology to see parts of your roof that would normally be too dangerous or difficult to access.
According to the National Roofing Contractors Association (NRCA), roofs should be inspected at least twice a year—once in the spring and once in the fall—to catch seasonal damage early. Regular inspections protect your home’s value and safety.
What It Really Means When Your Roof Fails a Home Inspection
So, your roof didn’t pass the home inspection—now what?
Basically, this means the inspector found issues serious enough that they can’t just be brushed off. These might include things like:
- Shingles that are missing, cracked, or falling apart
- Signs of leaks or water damage inside the attic or ceiling
- Spots where the roof looks like it’s sagging
- Poor ventilation (which can lead to moisture problems)
- Even structural concerns in more severe cases
And here’s the thing—even small roofing problems can cause big headaches if they’re ignored. A failed Roof Inspection can lower your home’s value, stall a sale, or lead to costly damage down the road. That’s why regular checks, especially after big storms or right after a new roof is installed, are so important. (Pro tip: A Roof Inspection after installation is a smart move to make sure everything was done right the first time.)
Need help figuring out the whole process? Check out the 7 Must-Know FAQs About Roof Inspection. It breaks things down in plain English—no roofing jargon, just useful info.
Step 1: Read the Roof Inspection Report (Yes, All of It)
Once the inspection’s done—whether it was done the old-school way or with a Drone Roof Inspection—you’ll get a full report. It’s tempting to skim it, but don’t. That report tells you exactly what’s wrong and what needs fixing.
You’ll usually see two kinds of problems listed:
- Major issues (like leaks or structural trouble) that need immediate attention
- Minor stuff (like loose flashing or a few clogged gutters) that’s easy to handle but still worth fixing
Depending on what they find, your Roof Inspection cost could vary a lot. Some companies offer a Free Roof Inspection, especially if you’re a new customer or getting repairs done with them. Just ask—there’s no harm in checking.
Step 2: Prioritize the Biggest Problems First
Not all roof problems are created equal. Start with the stuff that needs urgent attention. For example, if you’ve got a leak dripping into your living room, that’s way more serious than a couple of cracked shingles.
If you’re unsure about what’s really going on up there, a Drone Roof Inspection can be a smart move. It lets you spot hidden damage without risking your neck climbing on the roof.
Step 3: Don’t Settle for One Repair Quote
Shop around a little. Get at least three quotes before you decide who’s fixing your roof. While you’re at it, ask about the Roof Inspection Cost. Depending on where you live and how big your roof is, you might pay anywhere from $150 to $400. Some contractors even roll the inspection into the repair if you hire them, so it’s worth asking.
Step 4: Look for a Free Roof Inspection Before You Commit
Before you shell out big money on repairs, see if anyone offers a Free Roof Inspection. A second opinion can either back up what you were told, or sometimes uncover more issues you didn’t know about.
Just make sure you’re dealing with licensed and insured pros. You don’t want someone who’s just trying to sell you repairs you don’t actually need. And if this is a Roof Inspection after installation, it’s especially important to double-check that everything was done right.
Step 5: Take Care of Small Roof Problems Before They Turn Into Big Ones
It might not seem like a big deal at first—maybe a cracked shingle here, a loose nail there. But trust me, those little issues can snowball into major (and expensive) repairs if you leave them alone. Moisture can sneak in through even the tiniest cracks, causing mold, leaks, and even structural damage.
That’s why it’s smart to fix any minor problems right after a roof inspection. A quick patch-up now can save you thousands later—and keep your home safe and sound.
Step 6: Always Get a Roof Inspection After Installation
Once the repairs are done, it’s tempting to just cross it off your to-do list. But here’s the thing—you should always schedule a roof inspection after installation. Even pros can miss something, and it’s better to catch any issues before the next big storm rolls in.
Environment Canada actually lists poor roofing jobs as one of the top reasons for leaks during heavy rain and snow. A second check—whether it’s a traditional inspection or even a drone roof inspection—makes sure everything was done right.
And hey, some companies even offer a free roof inspection, so there’s really no downside to double-checking the work. A little extra caution now can save you a lot of stress (and money) later.
Step 7: Keep Your Roof Maintenance Plan Moving
Your roof’s not going to look after itself. Set a reminder to schedule a roof inspection every spring and fall. Trust me, spotting small issues early can save you a ton of money later—and it’ll help your roof last way longer.
If you’ve got a big house or a steep roof, you might want to get a drone roof inspection once a year too. It’s quicker, safer, and honestly, just a smarter way to check for problems without anyone risking their neck.
Final Thoughts: Don’t Stress—Just Plan Smart After a Failed Roof Inspection
Look, a failed roof inspection isn’t the end of the world. It just means you’ve caught something early—which is way better than finding out after a leak ruins your ceiling.
The best move? Stay calm, get a solid repair plan, and keep up with regular inspections. Fixing things early can save you from some seriously expensive surprises later on.
If you’re not sure what to do next, reach out to a local roofer and ask if they offer a free roof inspection. (Plenty do!) It’s a small step that could save you a lot of money. And if you’re wondering about roof inspection cost, it’s usually free or pretty affordable—especially if you’re getting a roof inspection after installation. Either way, it’s way cheaper than ignoring a problem.
