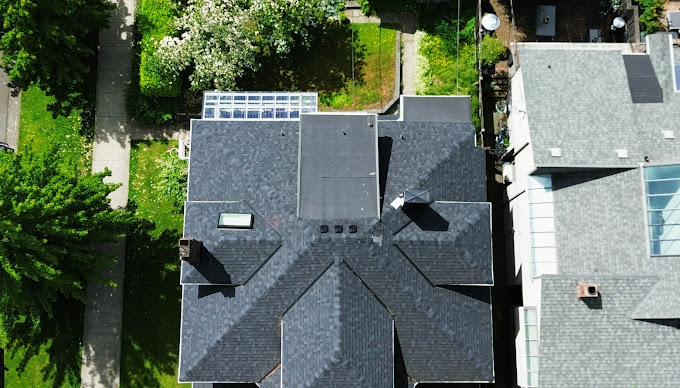
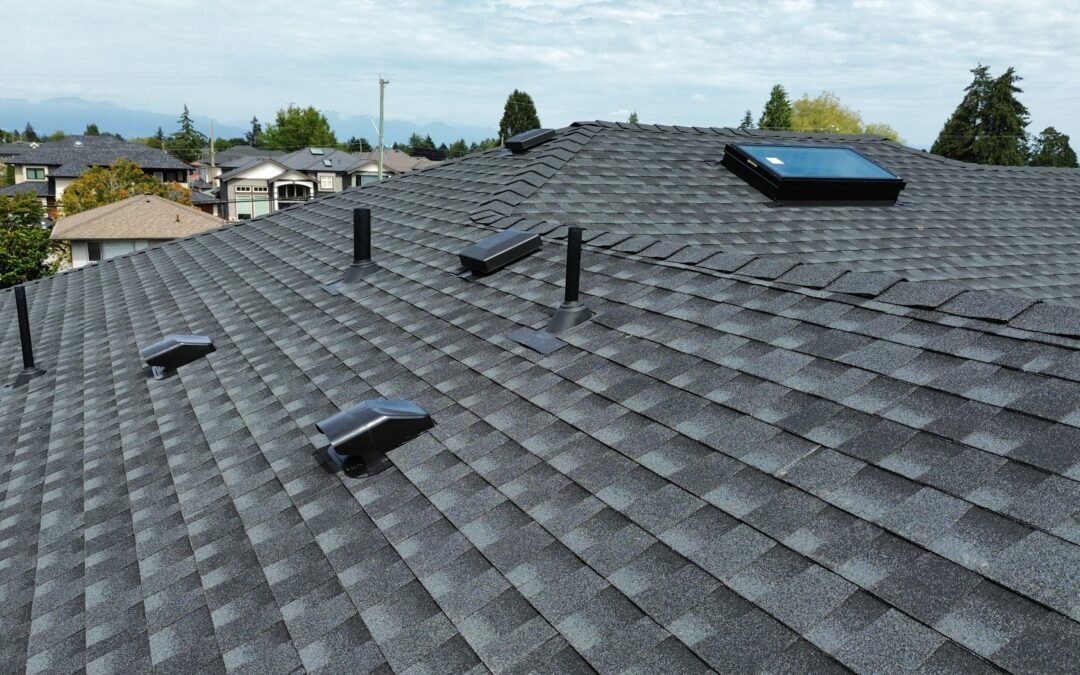
Shingle roofing is one of the most common types of roofing in homes today, known for its durability and visual appeal. In fact, many Canadian home builders choose asphalt shingles due to their affordability, easy installation, and improved quality. With a lifespan of about 15 years, these shingles provide a solid balance between cost and durability, often priced between $30 and $50 per square foot.
However, even the best shingle roofing can develop problems over time, especially after severe weather or natural wear. Spotting broken shingles early is crucial because small issues can quickly grow into costly repairs if ignored. Damaged shingles can expose your home to water leaks, structural issues, and even mold growth.
To help you keep your shingle roof in top shape, we’ve outlined five essential steps to follow as soon as you notice visible damage. From assessing the issue to contacting a professional shingle roofer for repairs, this guide will walk you through exactly what to do to protect your roof—and your home—from further damage.
Step 1: Assess the Damage
When it comes to shingle roofing, spotting damage early can make all the difference. Start by looking for the usual trouble signs—cracked, curled, or even missing shingles. You might also see areas where shingles look a bit worn out or discolored, which can hint at deeper issues.
If you notice any of these signs, try to gauge if the damage is isolated to one spot or spread across your shingle roof. A few damaged shingles might be an easy fix, but if you’re seeing problems in multiple areas, it could mean the roof has more extensive wear. Knowing how serious the damage is will help you decide on your next steps to keep your roof in good shape.
Step 2: Document the Damage
Once you’ve identified problem areas on your shingle roofing, it’s a good idea to document the damage. Take clear photos of cracked, curled, or missing shingles, as well as any other visible issues. These photos will come in handy if you need to file an insurance claim or when discussing repair options with a shingle roofer.
Along with photos, jot down a few notes about the location and extent of the damage on your shingle roof. This record can help both you and any professionals you contact to get a clear picture of the situation, making the repair process easier and more efficient.
Step 3: Consult a Professional Shingle Roofer
After documenting the damage, your next step is to reach out to a professional shingle roofer. They can do a thorough inspection and help you understand the full extent of the problem, including any hidden issues that may not be obvious, like water damage beneath the shingles.
A qualified shingle roofer brings the expertise needed to find the root cause of the damage and recommend the best repair approach. They’ll know if a quick fix is enough or if you might need a more extensive repair to keep your shingle roof in good shape. Consulting a professional not only ensures the repair is done right but also gives you peace of mind that your roof is safe and secure.
Step 4: Perform Temporary Repairs While Waiting for Roof Repair
If there’s a delay before a professional can repair your shingle roofing, you can take a few temporary steps to prevent further damage. Start by covering any exposed areas with a waterproof tarp to keep water out. You can also use roofing cement to secure any loose or cracked shingles temporarily.
These quick fixes can help protect your shingle roof from leaks and interior damage while you wait for a roof repair appointment. Just remember that these are short-term solutions, so getting a permanent fix from a shingle roofer should still be your priority.
Step 5: Proceed with Roof Repair
Once a professional shingle roofer is available, it’s time to move forward with the roof repair. They’ll start by carefully removing the damaged shingles and inspecting the underlying layers for any hidden issues. This step ensures that only the problem areas are fixed and that the rest of your shingle roofing remains intact.
The roofer will then install new shingles that blend seamlessly with your existing roof, so it looks as good as new. Using quality materials is key here to make sure the repaired area is as durable as the rest of your shingle roof. Once completed, you can feel confident that your roof is secure and ready to face the elements.
Preventive Maintenance for Shingle Roofing

To keep your shingle roofing in great shape, a little regular maintenance goes a long way. Start by scheduling routine roof inspections, especially after heavy storms. Checking for loose or damaged shingles regularly can help you catch small issues before they turn into costly repairs.
Another key step is to keep your gutters clean. Clogged gutters can lead to water buildup, which can damage both your shingle roof and the structure underneath. Ignoring gutters and downspouts maintenance can be a risky mistake, as explained in this guide on Rain Gutters Installation Aftercare. Clearing debris, like leaves or branches, from your roof’s surface, is also important, as this can trap moisture and weaken the shingles over time.
By staying on top of these simple tasks, you’ll help extend the lifespan of your roof and avoid unnecessary roof repair costs. Acting quickly when you notice any signs of damage is one of the best ways to keep your shingle roofing performing well year after year.
CONCLUSION:
Keeping your shingle roofing in good condition is all about catching and addressing issues early. By following these five essential steps—assessing the damage, documenting it, consulting a shingle roofer, performing temporary repairs, and completing the roof repair—you can prevent small problems from turning into major ones.
Routine care, like regular inspections and keeping gutters clean, can also go a long way in extending your roof’s lifespan. If you notice any signs of wear or damage, don’t wait. Contact a professional shingle roofer to ensure your roof stays safe and strong for years to come.

