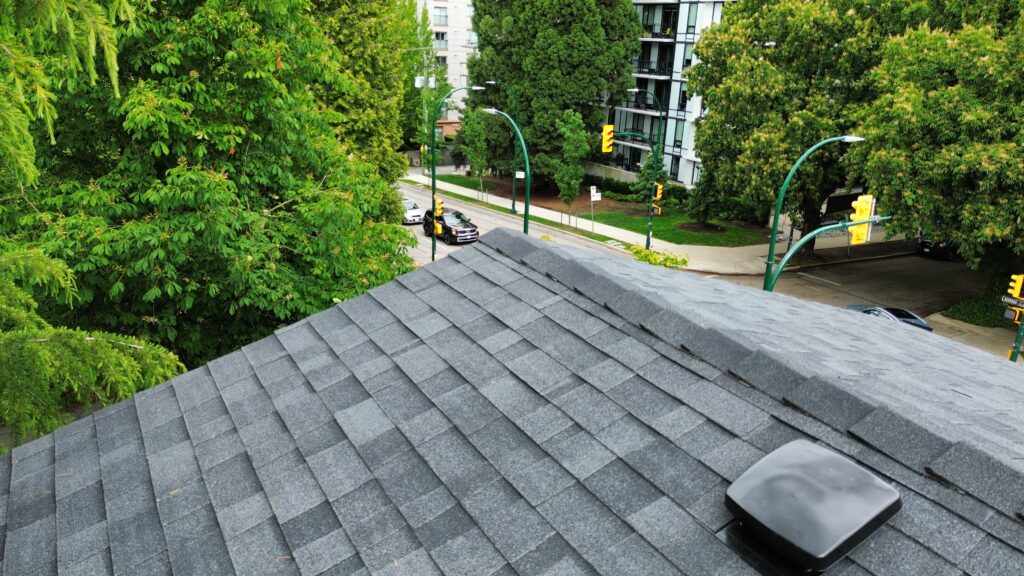
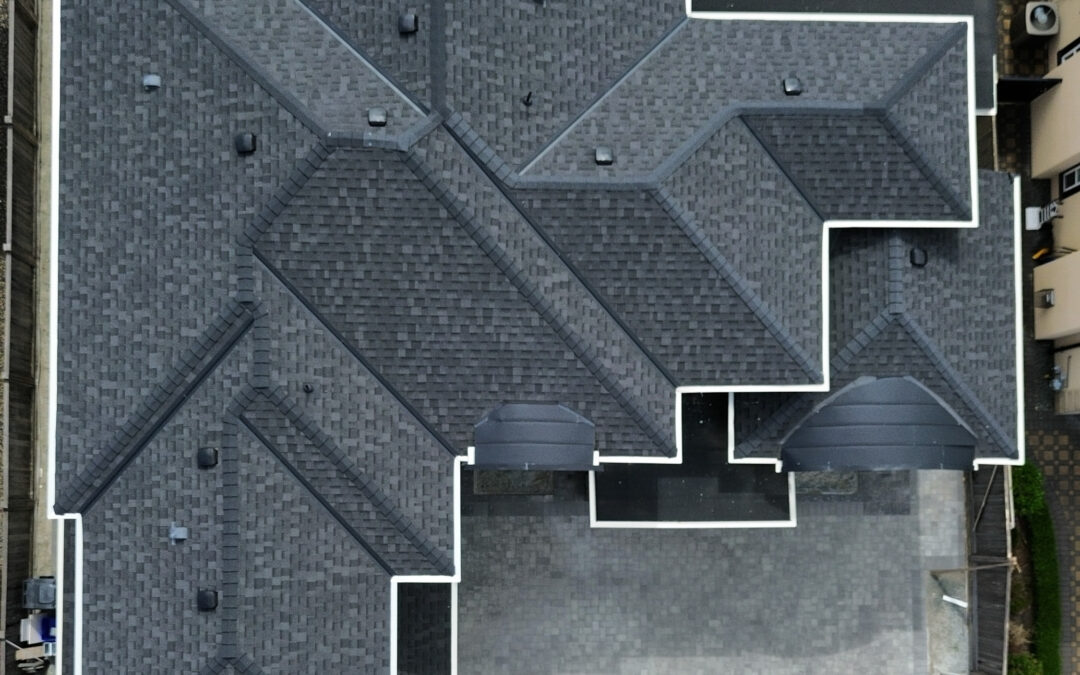
Maintaining your shingle roofing is crucial to prevent costly repairs and extend its lifespan. Lifted shingles are a common issue in Vancouver due to factors like strong winds, temperature changes, and improper installation. When shingles lift, they expose your roof to water damage, leading to leaks and structural problems. Addressing lifted shingles promptly can prevent these issues and save you money in the long run.
In Canada, roofing materials face challenges from harsh weather conditions, making regular maintenance essential. By keeping your shingle roofing in good condition, you ensure your home remains protected against the elements.
This guide will walk you through seven easy steps to fix lifted shingles, helping you maintain the integrity of your shingle roofing.
Why Lifted Shingles Are a Problem
Lifted shingles might seem like a small issue, but they can lead to big problems if ignored. When shingles are lifted, even slightly, they create openings that let water seep into your roof. Over time, this can cause leaks, rot, and even damage to the structure beneath. For shingle roofs, especially in areas like Vancouver where rainfall is frequent, this kind of damage can escalate quickly.
Another concern is wind. Once a shingle is lifted, it’s more vulnerable to being torn off entirely during a storm. This exposes more of your roof and increases the risk of widespread damage. Shingle roofing is designed to create a strong, overlapping barrier, and lifted shingles break that protection.
Left unchecked, these issues can lead to expensive repairs or even a full roof replacement. That’s why it’s so important to address lifted shingles as soon as you notice them. With regular inspections and proper care, you can ensure your shingle roofing stays in top shape, protecting your home from costly damage.
Taking swift action now can save you from major headaches later!
Tools and Materials You’ll Need
Fixing lifted shingles on your shingle roofing doesn’t require a toolbox full of fancy equipment, but having the right tools and materials will make the job easier and more effective. Here’s what you’ll need:
- Roofing Nails – These are essential for securely fastening shingles back in place.
- Hammer or Nail Gun – A hammer is handy for simple repairs, but a nail gun speeds up the process.
- Roofing Sealant – This helps keep your shingles securely attached and prevents water from seeping underneath.
- Replacement Shingles – In case some of your shingles are too damaged to fix, having a few spares is a good idea.
- Flat Pry Bar – Useful for gently lifting shingles without causing additional damage.
- Utility Knife – Perfect for trimming shingles or removing damaged pieces.
- Safety Gear – Include a sturdy ladder, gloves, and non-slip shoes. A safety harness is also highly recommended for sloped roofing.
If you’re unsure about handling the repair or lack the proper tools, consulting a shingle roofer might be your best option. Professional shingle roofers near you have the expertise and equipment to handle repairs efficiently, ensuring your roof remains in excellent condition.
Remember, preparation is key to a smooth repair process, so gather all the tools and materials before starting the job!
Step-by-Step Guide to Fix Lifted Shingles
Repairing lifted shingles on your shingle roofing doesn’t have to be complicated. Follow these simple steps to fix the problem and keep your roof in top shape:
1. Inspect the Damage
Start by examining your roof to identify all the lifted shingles. Check for cracks, curling, or missing pieces. Pay extra attention to areas where water might seep through. Catching these issues early can save you from bigger problems later.
2. Clean the Area
Before fixing a lifted shingle, clean the area underneath and around it. Dirt and debris can prevent a secure seal. Use a brush or cloth to remove any leaves, dirt, or old adhesive.
3. Apply Roofing Adhesive
Lift the shingle gently and apply a small amount of roofing adhesive underneath. This helps secure the shingle back in place and seals it against water infiltration. Be careful not to overuse the adhesive, as it can seep out.
4. Secure the Shingle
Press the shingle firmly back into place. Use roofing nails to anchor it securely, driving the nails just below the adhesive line. Ensure the shingle lies flat and aligns with the rest of your shingle roofs.
5. Replace Damaged Shingles
If a shingle is too damaged to repair, replace it. Slide the new shingle into position and secure it with nails and adhesive. Make sure the new shingle matches your existing sloped roofing for a seamless look.
For more details on handling broken shingles and maintaining your shingle roofing, check out these 5 essential steps for shingle roofing when broken shingles are seen.
6. Seal the Edges
Apply roofing adhesive along the edges of the shingle to create a watertight seal. This extra step helps prevent the shingle from lifting again in the future.
7. Inspect Your Work
Once you’ve completed the repairs, double-check your work. Look for any gaps, loose nails, or areas that may need extra adhesive. A thorough inspection ensures your roof is ready to withstand the elements.
When to Call a Professional Shingle Roofer
While fixing lifted shingles on your shingle roofing can often be a DIY project, there are times when calling a professional is the best option. Here are some scenarios where you should rely on an experienced shingle roofer:
1. Widespread Damage
If more than just a few shingles are lifted or damaged, it may indicate deeper issues with your roof. Extensive repairs require expertise, so when you search for ‘shingle roofers near me’ on Google, look for professionals who can assess the full extent of the problem and provide long-lasting solutions.
2. Water Leaks or Rot
Visible water stains on ceilings, damp insulation, or signs of rot in the roof deck are red flags. These issues often mean the damage has gone beyond the shingles, and a professional inspection is crucial to prevent further deterioration.
3. Older Roofs
If your shingle roofing is nearing the end of its lifespan, patching lifted shingles may not be enough. An expert can recommend whether it’s time for a full roof replacement or targeted repairs to extend the roof’s life.
4. Complex or Steep Roof Designs
Working on sloped roofing or roofs with unique designs can be risky without proper safety equipment and experience. Professionals have the tools and skills needed to work safely on challenging roof structures.
5. Lack of Tools or Expertise
If you don’t have the necessary tools or feel unsure about the repair process, hiring a shingle roofer is the safer choice. Professionals ensure the job is done correctly, saving you time and avoiding costly mistakes.
Addressing roof issues quickly is key to preventing further damage. Whether it’s a minor fix or a major repair, professional shingle roofers can help protect your home and give you peace of mind.
Pro Tips for Maintaining Shingle Roofing
Keeping your shingle roofing in excellent condition doesn’t have to be overwhelming. With regular care and attention, you can avoid costly repairs and extend the life of your roof. Here are some practical tips to help you maintain your shingle roofs:
1. Schedule Regular Inspections
Inspect your roof at least twice a year, especially after harsh weather like storms or heavy snow. Look for lifted shingles, cracks, or missing pieces. Early detection can prevent small issues from becoming major problems.
2. Keep Your Roof Clean
Leaves, branches, and debris can trap moisture, which may weaken your shingles over time. Clean your roof and gutters regularly to ensure proper water drainage and protect your sloped roofing from damage.
3. Trim Overhanging Trees
Branches that hang over your roof can scratch and damage shingles or drop leaves and debris. Trimming nearby trees reduces these risks and allows sunlight to reach your roof, keeping it dry.
4. Address Repairs Promptly
Don’t wait to fix small problems like lifted shingles or loose nails. Quick action ensures your shingle roofing remains durable and protects your home from leaks.
5. Check Ventilation and Insulation
Proper attic ventilation and insulation help regulate temperature and moisture levels, preventing shingles from warping or deteriorating. This step is especially important for homes with sloped roofing in climates like Vancouver’s.
6. Hire Professionals for Annual Maintenance
Even if your roof looks fine, having a professional shingle roofer inspect and maintain it annually is a smart move. They can spot hidden issues and provide expert care to keep your roof in top shape.
With these simple tips, you can ensure your shingle roofing stays strong and reliable for years to come. A little effort now can save you from big repairs later!

CONCLUSION:
Maintaining your shingle roofing is essential to protect your home and avoid costly repairs. Lifted shingles might seem like a small issue, but they can lead to significant problems if ignored. By following the simple steps outlined in this guide, you can address lifted shingles quickly and keep your shingle roofs in great condition.
Regular maintenance, like inspections and cleaning, goes a long way in preventing future issues. However, if the damage is extensive or you’re unsure about the repair process, don’t hesitate to reach out to a professional shingle roofer. Their expertise ensures your roof stays durable and ready to handle whatever nature throws at it.
Taking care of your roof today saves you time, money, and stress in the future. Got a question or need help with your roof? Contact trusted shingle roofers, and share this guide with friends or family who might find it helpful!

